Hello World, I’m Md Saiful Islam and I’m a paramedic. And today I’m talking to you how to take Centrifugation and Aliquoting of Blood Serum and Plasma sample that can be either used or stored.
Learning objects about centrifugation and aliquoting :
- How to take a blood sample
- How to blood turn into a serum or plasma sample
- How to used or stored this sample
How to take a blood sample:
Anytime you’re handling a blood sample or other similar biohazard make sure that you’re wearing the appropriate clothes. When you are working with a biohazard like blood. You need to make sure that you’re protecting yourself from that biohazard. Also you need to be wearing shoes that are closed. There is no exposure of your feet. You need to be wearing pants that prevent an exposure of your legs. You should be wearing some sort of lab coat that protects most of the rest of your body. Then you need to be wearing gloves that protect you from anything that’s going to get spilled on your hands. And you need to be wearing some sort of protective eyewear. That’s going to have some side shields as well as a lot of coverage to your eyes to prevent any splashes from getting to your eyes.
So the type of blood samples. We’re talking about today are going to be collected either through a typical venipuncture. Just using a needle or an IV catheter. Which is also type of venipuncture either way. We’re going to be collecting tubes that are typically going to be either a peripheral top or red top. The purple top are the EDTA tubes that are going to prevent the blood from coagulating. The red tops are gonna be the silicone coda tubes. That are going to promote coagulation Centrifugation and Aliquoting of that blood.
How to blood turn into a serum and plasma sample:
whether you prevent coagulation or promote coagulation is going to determine? Whether you get a Plasma, or serum. Plasma is what you get from the purple top tubes.
Where you prevent the coagulation?
It still has platelets in it serum is what you’re going to get from the red top tubes.
Where you promote a coagulation?
Essentially that coagulation is the clotting of those platelets? And when you spin this down. you’re going to end up getting just liquid and no Platelets inside that liquid. Either way you’re going to take the blood tube. When you first get it and you’re going to invert it very gently. And very slowly typically between four and six times. And that’s going to make sure that the blood has been thoroughly mixed with whatever. Type of treatment is inside that tube again either a coagulant or an anticoagulant. And then you’re going to take the blood. And you’re going to set it up right in a tube holder and allow the blood to.
If it is a coagulating tube, or you can spin it right away if it’s a non-coagulating tube.
one mistake
I forgot – you put them in a tube holder. It doesn’t really make a big difference.
But it makes it hard to tell whether or not the blood has been coagulated. Because how you sell blood has been Coagulated. If you take it you very gently turn it upside down. And if the blood doesn’t move and if it doesn’t flow downward. That means it’s coagulated, and you can still see that with it being on its side. It’s just not quite as clear alright.
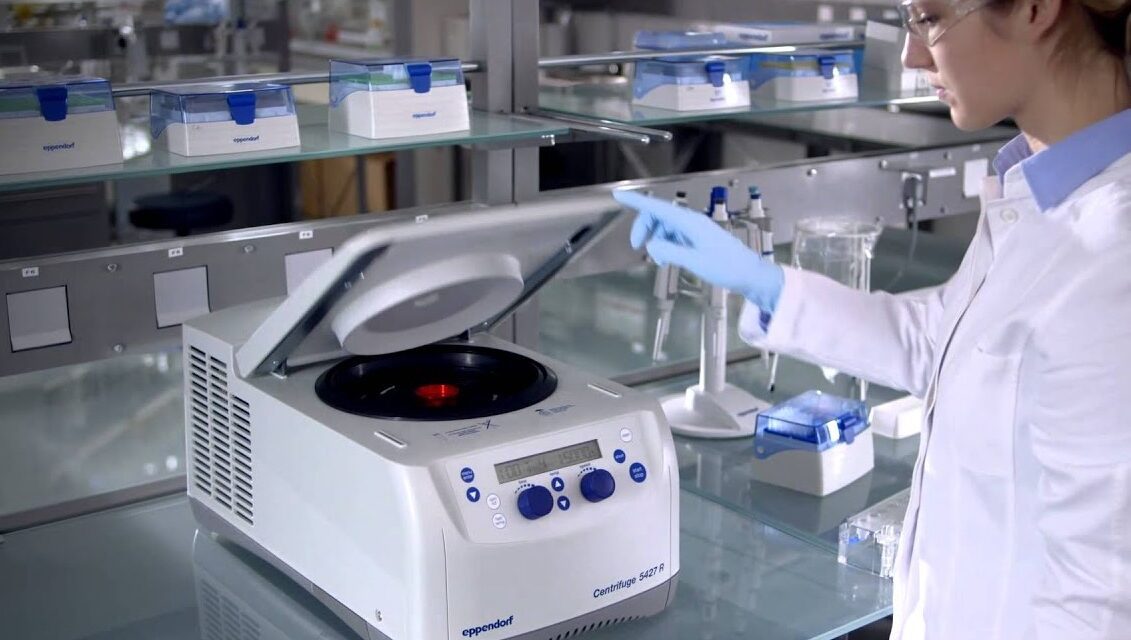
Once you have confirmed that your coagulated blood or the blood that you want to coagulate has coagulated. Then you can take the blood samples, and you can put it in a centrifuge. Centrifuges can be set to several different parameters. You can set the temperature of the centrifuge you can make it room temperature.

Which is Centrifugation and Aliquoting approximately?
Part one
What I’m going to be setting Centrifugation and Aliquoting at. Or you can make it cold which often times needs to be done. If you’re running a sample for hormones or something that’s going to degrade quickly at room temperature. The other things you can set are of how fast it’s going to spin. I’m going to spin it just beyond 3000 RPM’s or you can set also the time of the spin. Which is something that typically is between 10-15 minutes.
And you can decide whether or not to have a brake applied. Or how heavily to apply that brake at the end of the centrifuge time period. Set those parameters to whatever type of analysis you’re going to be doing. And then you’re going to put the blood tubes inside the centrifuge. Now make sure that you’re putting it inside the proper tubes within the centrifuge. If you put it in two or two holders that are too large for the tubes. It’s not going to hold it very well and you don’t want that.
Part two
So put it in the right size tube holders for the tube you’re using. The other thing you need to do when you’re putting the tubes inside the centrifuge is try to disperse them in such a way. Or you place them in there in such a way that they are balancing each other and their weights. If you have one over here have one over there alright.
So that when it’s spinning. It’s going to have the same weight on both sides of the inside of that Center huge. And it’s gonna promote an even spinning. Once the tubes are in the centrifuge appropriately press the lid down. Until it clicks move over the locking mechanism on the lid. And then you’re simply gonna turn the centrifuge all if you haven’t. And hit the button if there is a button to start the spin. This particular centrifuge does not have a button to spin. You just turn the timer to whatever you want to be set at. And that’s going to initiate the spinning process.
Part three
You’re gonna see a very slow in increase in the RPM’s of the device. Because it doesn’t want to start super quickly. It’s gonna sort of ramp up and that’s gonna prevent it. So much jostling of the blood inside this the tubes. Which is something you don’t want the tubes being sort of jostle around. Because it’s gonna increase the likelihood of damaging the sample, okay? Once the centrifuge is done its going to start to break itself. If you have the brake applied you can see that the RPM’s that are going to slow down fairly quickly. If you don’t have the brake apply it takes a very long time for the centrifuge to stop. The centrifuge has stopped. You can open it.
You’re simply going to flip the switch back on the locking mechanism on the lid. And then there’s a button on the front of the centrifuge. That you have to push to actually open the lid.
There’s two different locks. Once both those locks are undone you can lift the lid take the samples out. And you can use them however you plan on using them. When you’re taking the tubes out of the centrifuge and to wherever your workstation is. Or when you’re working with them at the workstation make sure that you never invert those tubes again.
If you invert the tubes you’re going to see that the blood remix is partially. And essentially you’re ruining your sample by doing that. If you look at tubes actually they’ve been centrifuge. There’s going to be a clear separation between the blood cells at the bottom and the clear liquid on top. What that clear liquid is it depends on the type of tube whether it is a coagulant. Or an anticoagulant tube.
Part four
Again the anticoagulant tubes are going to have plasma in them. That liquids gonna still contain platelets. The coagulating tubes are gonna have serum in them because all the platelets have coagulated. And been spun to the closer to the cells in the bottom. The red blood cells at the bottom.
you’re going to take those tubes. You’re going to very gently remove the top to just kind of wiggle it back. And forth until it’s able to pop off and then you’re going to take is some sort of pipette. So we’re just going to be using a simple bulb transfer pipette today. And you’re going to suck up that serum or plasma. And transfer it into some sort of container to be used in a machine. Or to be stored in a freezer.
Learn more about laboratory equipment.
When you’re sucking up serum and plasma?
Serum or plasma though start the very top so start at the top the plasma. And slowly work your way down as the plasma is sucked up into the bulb pipette. The reason you’re doing that is if you get too close to the cells about midway down the tube. You’re going to disturb those cells and in doing. It’s going to remix the tube of blood and it’s going to essentially destroy your sample.
Start at the top very conservatively stuck a little bit of the serum or plasma. And continue to lower the pipette as you’re sucking up serum or plasma. And stop when either you fill the pipette, or if you get too close to the cells. Where you start thinking that maybe you might suck a little bit of the cells up and mix your sample. Stop before that happens then take that sample put it wherever you’re going to use a store or use it. And then if you need more you can go back. And try to get a little bit more serum or plasma. But you want to make sure that you get the easy serum and plasma first. Before you start getting a little more gutsy. And getting the Centrifugation and Aliquoting of blood serum or plasma that’s closer to the cells.
How to used or stored serum and plasma sample:
Once you have transferred all of your serum or plasma to another container. That you’re going to use for analysis or for storage you will have officially aliquoted the serum plasma.
If you’re going to store it make sure that goes into a refrigerator or freezer more likely. And that happens quickly because anytime that the sample is at room temperature. It is degrading the sample. Make sure that you get it into its storage location as quickly as you can. So that was a really quick overview on how to spin blood. And pull off out of the Centrifugation and Aliquoting serum or plasma sample for storage or use.
Learn more about this topics clink the link


